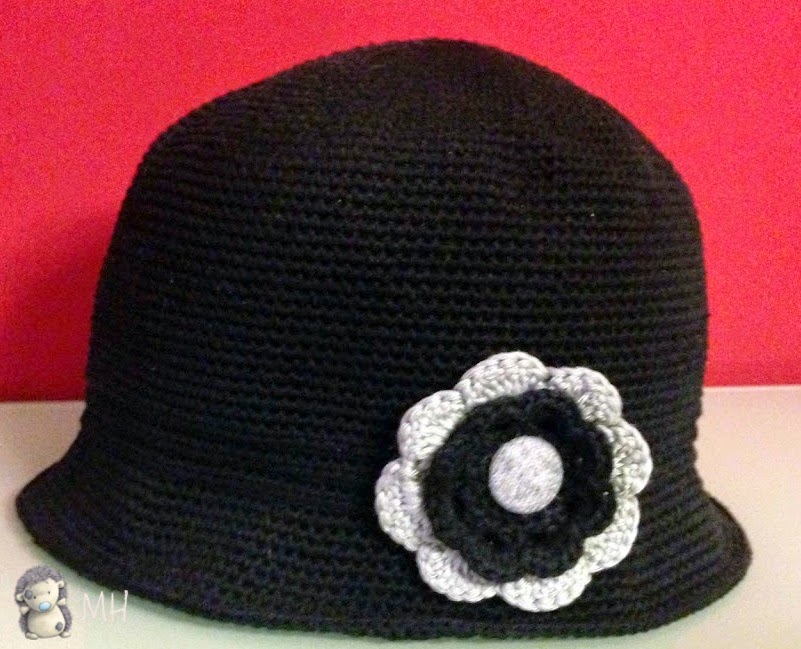
Elegant Cloche Hat, Free English Pattern
I have made this Cloche Hat for me, because it was time to do something for me.
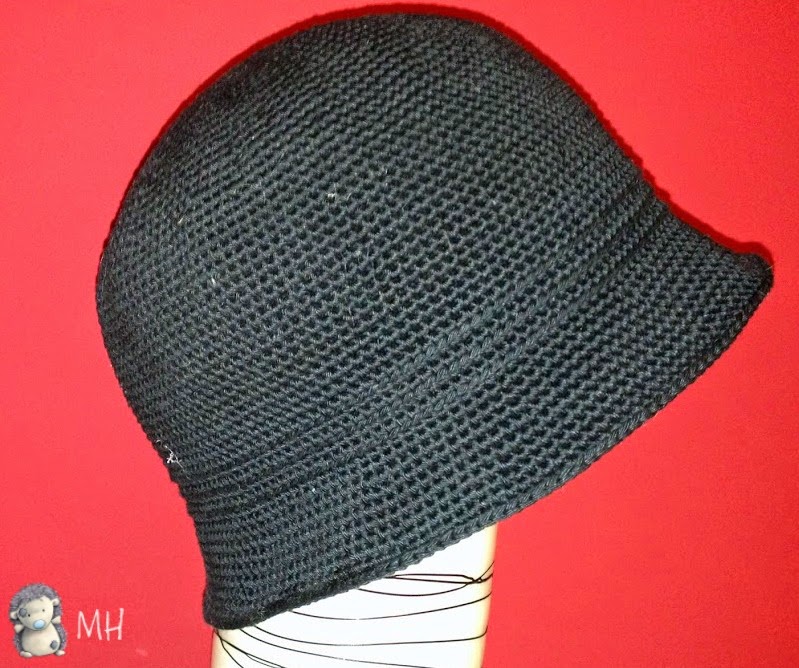
The cloche hat is a fitted, bell-shaped hat for women that became especially popular during the 1920s, and continued to be commonly seen until about 1933. Its name is derived from cloche, the French word for "bell".

The cloche hats basically are adjusted to the head and with minimum wing.
It is made according to the instructions in English of this page.
It has some changes, so I put the pattern that I have done.
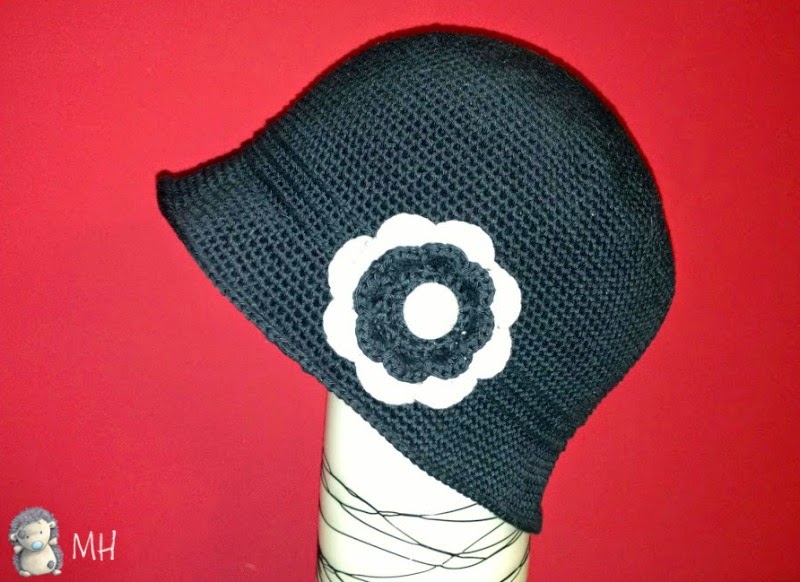
These hats are very flattering. I would put a picture of me with the hat, but I'm afraid I am made for three dimensions and in the pictures I´m terrible (that's what one of my friends say to comfort me when I look the photos). The reality is that the hat looks great, but yes, it takes about a million stitches.
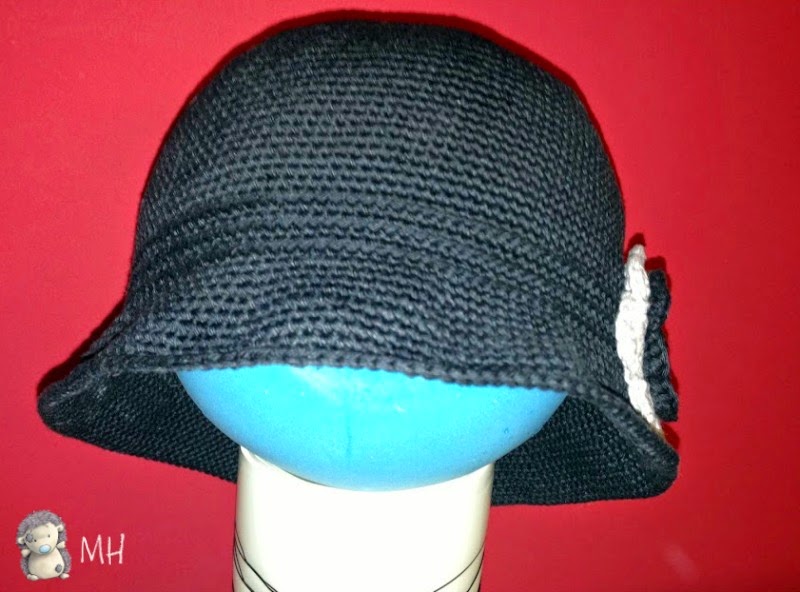
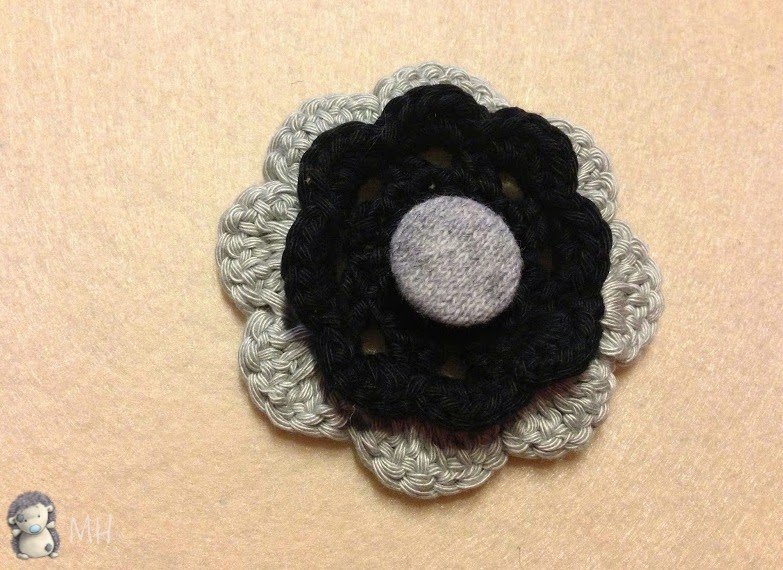
To make crochet flower that adorns the hat I followed this tutorial. The only thing I changed is I put only two layers because I had three overly large. In the center I put a button wrapped in gray fabric (I keep all the buttons that come with replacement clothing for these things). After the flower is sewn to the hat (over the band).
Finally in order to help this hat keep its shape, I wet mine with warm water and then I placed it on top of rhythmic ball of my daughter (which although smaller than the hat serves to shape). I sprayed the hat with Toke spray (you can use some spray starch) and blow-dried it using a hair dryer. In this picture you can see how he keeps the form even without anything inside (I got the ball and still is perfectly round).
I hope you understood the tutorial, but otherwise please ask me whatever you want.


The cloche hat is a fitted, bell-shaped hat for women that became especially popular during the 1920s, and continued to be commonly seen until about 1933. Its name is derived from cloche, the French word for "bell".

It is made according to the instructions in English of this page.
It has some changes, so I put the pattern that I have done.
These hats are very flattering. I would put a picture of me with the hat, but I'm afraid I am made for three dimensions and in the pictures I´m terrible (that's what one of my friends say to comfort me when I look the photos). The reality is that the hat looks great, but yes, it takes about a million stitches.


CLOCHE HAT, FREE ENGLISH PATTERN
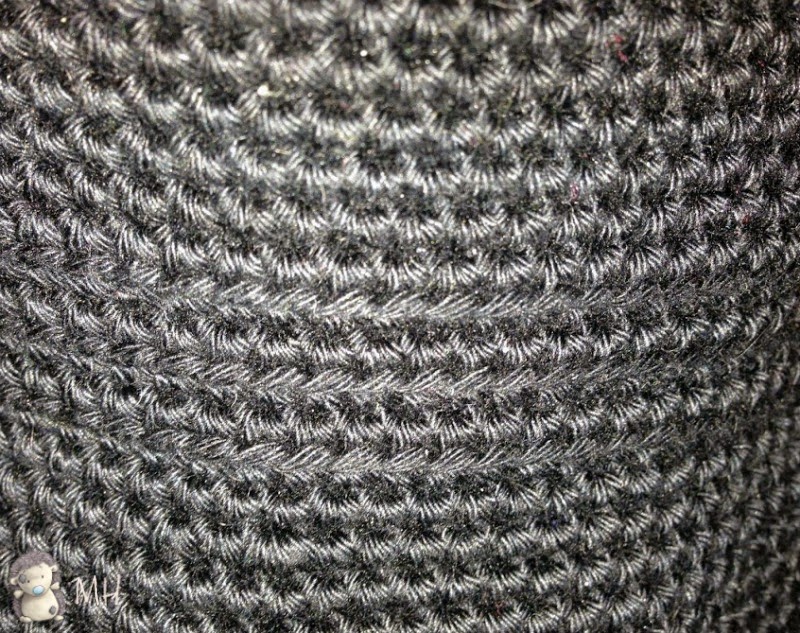
This hat is made wih Anchor Creative, and I have used four ball of yarn with a 3.5 mm crochet hook.
sc= single crochet
inc= increase
We start doing a magic loop. The hat is worked in continuous rounds, and increases are staggered, to produce a rounder, less hexagonal shape.
1.- 6 sc (6)
2.- 6 inc (12)
3.- 1 sc, 1 inc, repeat to end (18)
4.- 1 inc, 2 sc, repeat to end (24)
5.- 3 sc, 1 inc, repeat to end (30)
You continue to increase like this until you have a slightly-curling circle that has a diameter of a bit more than 18 cm / 7 inches (mine was 19 cm when I stopped, and I´m bighead.) If you have a big head or a lot of hair, make the crown a bit bigger. It's supposed to fit snugly.
It is very important spiral weave, to not note the connection between rounds, and interleaving increases so that the shape of the hat does not become hexagonal. As you can see, I sometimes increased at first, others at the end, and sometimes in the middle of each round. The important thing is to increase 6 sc at every round. I have completed this circle with 144 sc.
To make the BODY OF THE HAT do many rounds without increases as necessary (about 7 cm, 2.75 inches). If we try the hat, it should be, before starting the band, a few inches above the eyebrows (mine 3 cm or 1.18 inches above the eyebrows).
To make the BAND OF THE HAT we work in joined rounds, to not note the start. Join the last stitch to the first stitch of the row with a slip stitch and start each round with a chain.
1.- Taking back loop of each chain, 1 sc in each stitch.
2.- 1 sc in each stitch taking the whole chain.
We repeat the tro rouns twice more until we have 6 rounds of band.

To make the HAT BRIM continue with the same progression increases that we had before making the body (in my case, there were 144 stitches, 22 sc and 1 inc, so now I have 23 sc, 1 inc). We made two rounds of increases (6 sc at each round) and two rouns withouth increases. Repeat until you have a brim that you like (mine has 8 rounds).
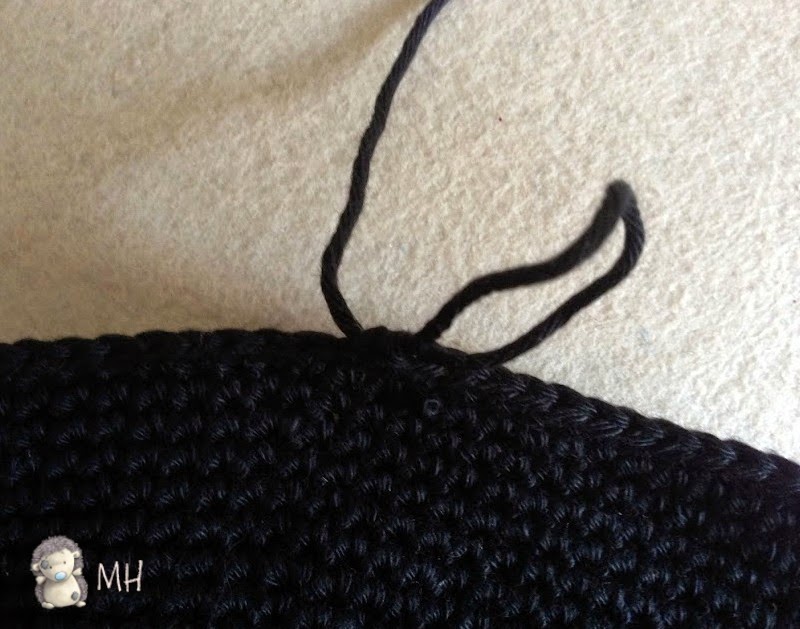
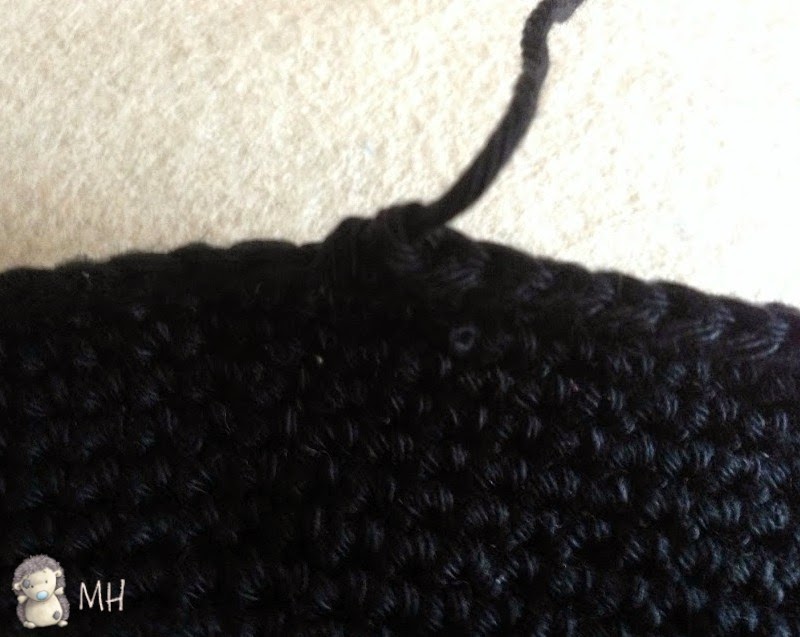
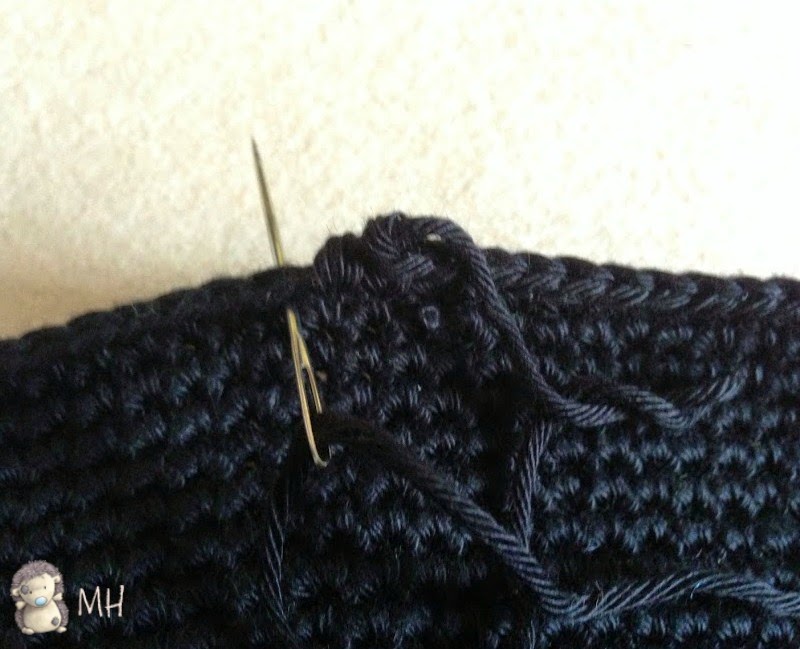
To top off the hat without being noticed, in the last stitch we take the wool with a knitting needle and pass below the first point of this round, then return it to pass through the center of the last stitch of the hat; explained is confusing, but it´s very easy. We hide the remaining yarn inside the hat passing the needle below some stitches.
To top off the hat without being noticed, in the last stitch we take the wool with a knitting needle and pass below the first point of this round, then return it to pass through the center of the last stitch of the hat; explained is confusing, but it´s very easy. We hide the remaining yarn inside the hat passing the needle below some stitches.


Finally in order to help this hat keep its shape, I wet mine with warm water and then I placed it on top of rhythmic ball of my daughter (which although smaller than the hat serves to shape). I sprayed the hat with Toke spray (you can use some spray starch) and blow-dried it using a hair dryer. In this picture you can see how he keeps the form even without anything inside (I got the ball and still is perfectly round).

Aunque todos mis patrones son gratuitos podéis colaborar para mantener el blog con una contribución única por paypal (en este enlace lo podéis hacer: paypal.me/artedetei); no hay tasa mínima y ayudáis a pagar el dominio, editor de fotos, etc.
Muchas gracias!!!
Si os ha gustado y no queréis perderos ningún tutorial podéis seguirme también en Facebook, Youtube, Google +, Pinterest, Twitter e Instagram

Merry christmas!!!! Kisses from Spain!!
ResponderEliminar